

Macro Photography Tips For Beginners: 15 Easy Ways to Take Sharper Photos
Last updated on August 25th, 2026 at 03:24 pm
Macro photography lets you discover details that are almost invisible to the naked eye—from the texture of a flower petal to the wings of a tiny insect. But getting those details sharp can be surprisingly difficult.
Get ready to transform everyday subjects into extraordinary art. Our Macro Photography Tips For Beginners will equip you to explore the incredible detail just beneath the surface, making every shot an adventure into the miniature world.
Contents
- 1. 15 Macro Photography Tips for Beginners
- 1.1. Start With the Right Subject
- 1.2. Use the Right Macro Lens
- 1.3. Choose the Right Aperture
- 1.4. Use a Fast Enough Shutter Speed
- 1.5. Keep ISO Under Control
- 1.6. Learn Manual Focus
- 1.7. Focus on the Most Important Detail
- 1.8. Watch Your Background
- 1.9. Use Soft, Diffused Light
- 1.10. Photograph During the Best Light
- 1.11. Stabilize Your Camera
- 1.12. Try Focus Stacking
- 1.13. Try Macro Photography Without a Macro Lens
- 1.14. Experiment With Perspective
- 1.15. Take More Than One Photograph
- 1.16. A Simple Macro Photography Formula
- 2. The wellness benefits of macro photography: a mindful practice.
- 3. 🔍 Macro Photography Tips For Beginners - Basics & Challenges
- 4. How to Photograph Bugs Close Up
- 5. Summary – Macro Photography Tips For Beginners
Step into a realm where the minuscule becomes magnificent! If you’ve ever been captivated by the intricate details of a dewdrop on a petal or the vibrant eyes of an insect, then macro photography is your calling. This isn’t just about getting close; it’s about revealing explosive, tiny worlds invisible to the naked eye. In this guide, we’ll dive deep into essential Macro Photography Tips for Beginners specifically for capturing the stunning beauty of bugs and blooms.
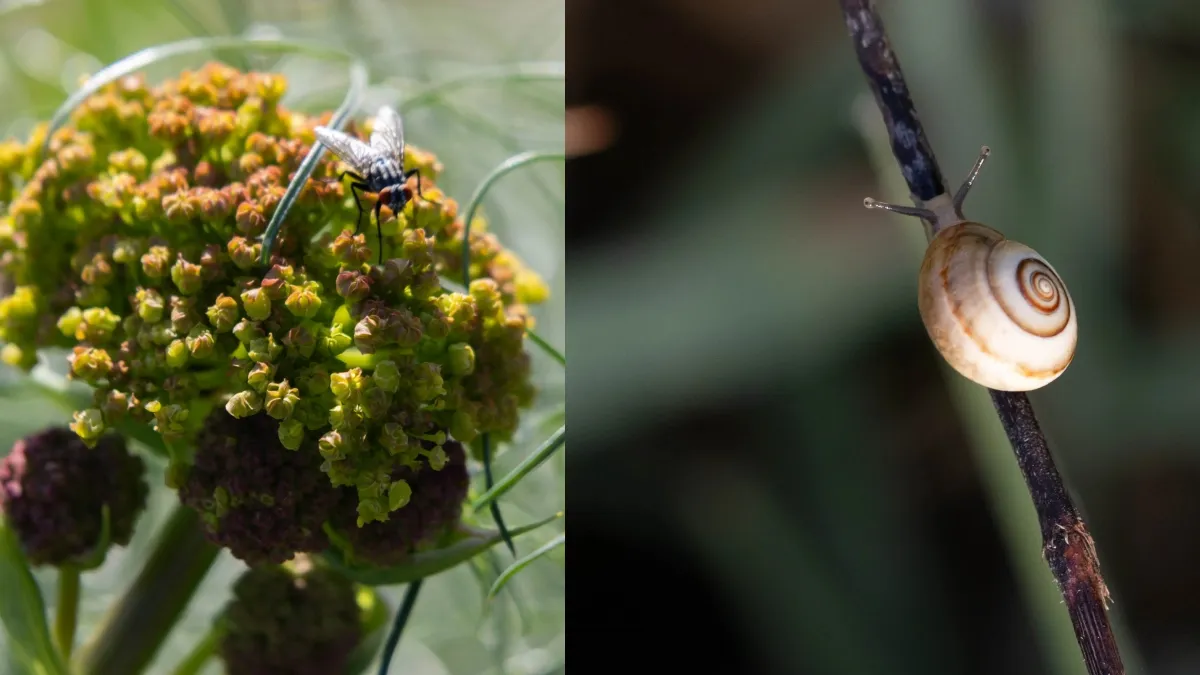
15 Macro Photography Tips for Beginners
Macro photography reveals details that are easy to miss with the naked eye. These practical macro photography tips can help beginners create sharper, more interesting close-up photographs without complicated equipment.
Start With the Right Subject
Begin with subjects that naturally offer interesting textures, colors, patterns, or details. You don't need an exotic subject to create a compelling macro photograph.
Try: flowers, insects, leaves, mushrooms, water drops, food, jewelry, and everyday textures.
Use the Right Macro Lens
A dedicated macro lens makes close-up photography easier because it is designed to focus at short distances and reproduce fine details.
Shorter focal lengths can work well for subjects that allow you to get close, while longer macro lenses provide more working distance for insects and other easily disturbed subjects.
Choose the Right Aperture
Macro photography often produces a very shallow depth of field. Stopping down the aperture can help keep more of the subject in focus.
As a starting point, experiment around f/8 to f/11, then adjust according to your subject and available light.
Use a Fast Enough Shutter Speed
At high magnification, even tiny movements can become obvious. Camera shake, wind, or a moving insect can quickly turn a sharp photograph into a blurry one.
For handheld macro photography, consider starting around 1/250 second or faster and increase the speed when your subject is moving.
Keep ISO Under Control
Lower ISO settings generally produce cleaner images with less digital noise. However, don't sacrifice a sharp photograph simply to keep ISO low.
If you need a faster shutter speed or smaller aperture, increasing ISO can be a useful trade-off.
Learn Manual Focus
Autofocus can work well, but manual focus gives you precise control when the depth of field is extremely shallow.
For stationary subjects, try setting the focus manually and gently moving the camera forward or backward until the most important detail becomes sharp.
Focus on the Most Important Detail
With macro photography, you may not be able to keep the entire subject sharp at once. Decide what the viewer should notice first.
When photographing insects, for example, the eyes are often a natural focal point.
Watch Your Background
A beautiful macro subject can lose its impact if the background is cluttered or distracting.
Look for simple backgrounds, complementary colors, and areas of soft blur that help the main subject stand out.
Use Soft, Diffused Light
Harsh sunlight can create strong shadows and distracting highlights. Soft, diffused light usually produces more attractive textures and smoother transitions between light and shadow.
A diffuser, shade, cloudy conditions, or carefully positioned artificial light can help create more balanced illumination.
Photograph During the Best Light
Outdoor macro photography can change dramatically depending on the time of day and weather.
Early morning and overcast conditions can provide softer light and, in some situations, calmer conditions for photographing flowers and insects.
Stabilize Your Camera
A tripod can be extremely useful when photographing stationary subjects, particularly when using slower shutter speeds or focus stacking.
But it isn't mandatory. Handheld shooting can be more practical when photographing insects or moving subjects.
Try Focus Stacking
Focus stacking combines several photographs taken at different focus distances to create an image with greater apparent depth of field.
It is particularly useful for detailed, stationary subjects such as flowers, jewelry, insects that remain still, and small objects.
Try Macro Photography Without a Macro Lens
You don't necessarily need a dedicated macro lens to experiment with close-up photography.
- Extension tubes
- Close-up filters
- Reversed lenses
- Some telephoto lenses
These alternatives can be useful for learning the fundamentals before investing in specialized equipment.
Experiment With Perspective
Don't photograph every subject from the same angle. Changing your perspective can completely alter the mood and composition of a macro image.
- Shoot from above
- Get level with the subject
- Try a lower viewpoint
- Move extremely close
- Include some of the environment
Take More Than One Photograph
Macro photography has a very small margin for error. A tiny change in focus can completely change which part of the image is sharp.
Take several frames while making small adjustments to focus, composition, shutter speed, or camera position. You can select the strongest image later.
A Simple Macro Photography Formula
Interesting subject + precise focus + sufficient shutter speed + controlled depth of field + soft light = stronger macro photographs.
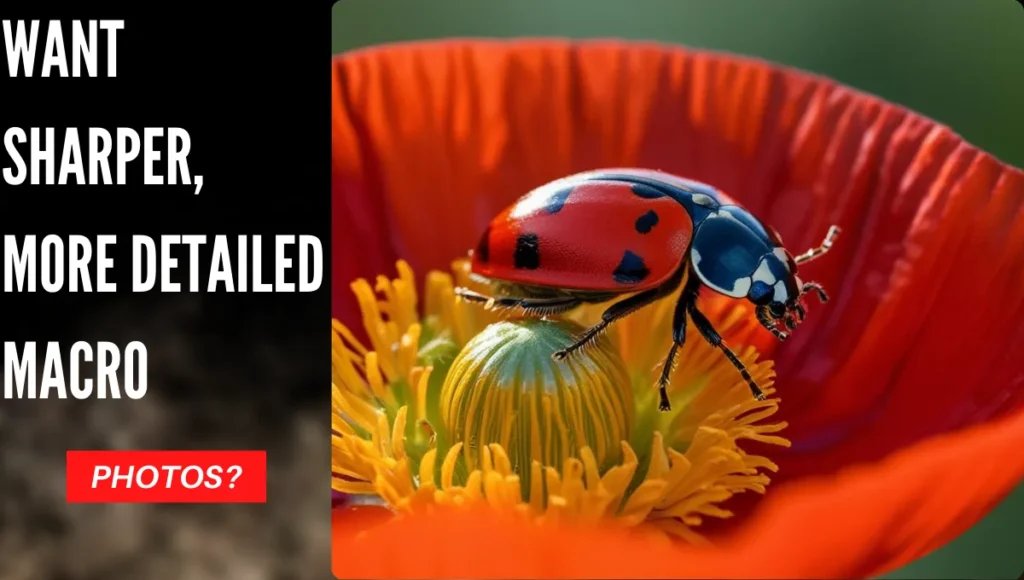
The wellness benefits of macro photography: a mindful practice.
Slow down · zoom in · breathe — macro photography reveals details that are easy to miss with the naked eye.
In search of tiny details
When you're hunting for the delicate veins on a petal or the compound eyes of a damselfly, your brain shifts from doing mode to being mode. The chatter fades; only the dewdrop, the antenna, the minuscule world exists. This single-pointed attention is a form of active meditation — it anchors you in the present, washing away mental clutter.
✔️ Studies show that focusing on small, intricate patterns lowers cortisol. Macro doesn't just magnify life — it magnifies calm.
Reconnection & wonder
Seeing the iridescent scales on a moth or the tiny hairs on a stem rewires your relationship with the outdoors. You stop treating nature as a backdrop and start relating to it as a living tapestry. Each session becomes a quiet conversation with the more‑than‑human world — fostering awe, gratitude, and a sense of belonging.
✔️ This deep attention triggers the parasympathetic nervous system, the same rest‑and‑digest state achieved in yoga nidra.
Patience as self‑care
Waiting for an ant to walk into the perfect sliver of focus, or for the breeze to pause so a flower stands still — this isn't a frustrating delay. It's a benevolent slowdown, a permission slip to unhook from the rush of notifications and endless scrolling. In a world built for speed, macro gives you a guilt‑free excuse to be unhurried.
✔️ Each moment of stillness is a small act of kindness toward your nervous system.
Effortless mindfulness
There is no room for anxiety when you are completely absorbed in the geometry of a spider's silk. Macro photography is a gateway to effortless mindfulness — your breath slows, your shoulders drop, and the world shrinks to the size of a flower.
✔️ You're not just making an image; you're making space to breathe.
A Simple Macro Wellness Formula
Focus + patience + presence + wonder = a healthier mind.
🔍 Macro Photography Tips For Beginners - Basics & Challenges
Before diving into gear, here are the core constraints and principles in macro work.
Magnification / Reproduction Ratio
The Challenge: Macro generally means 1:1 (life‑size) or more (e.g., 2:1, 5:1) — your standard zooms won't typically reach this level. A 1:1 macro lens places the subject's real size onto the sensor.
Depth of Field is Extremely Shallow
The Challenge: At high magnification, even f/8 or f/11 yields a very narrow focus plane.
Lighting is Critical
The Challenge: At close distance, natural light often isn't enough. Shadows, wind, and subject movement complicate things.
Working Distance / Disturbing the Subject
The Challenge: Getting very close can scare away insects or block light.
Stability & Motion
The Challenge: Tiny movements by the camera or the subject are magnified, causing blur.
Macro Photography Formula
Right lens + controlled DoF + good light + stability = sharp macro images.
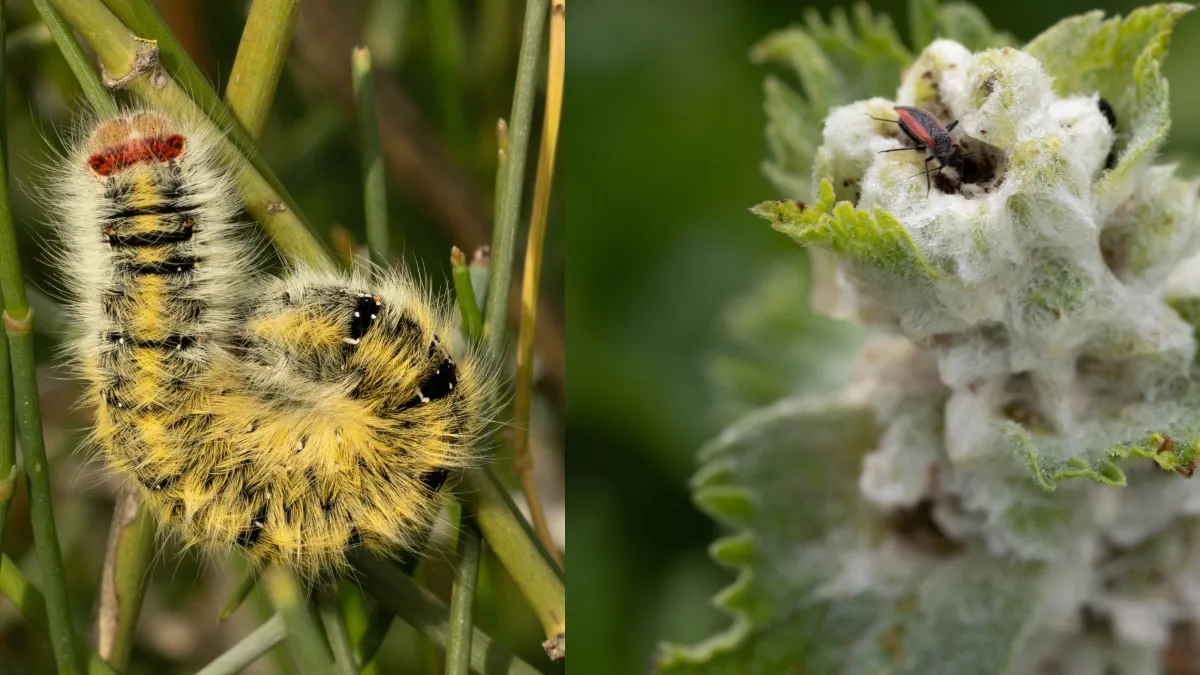
How to Photograph Bugs Close Up
Macro Photography Tips For Beginners - Capturing the tiny details of insects can transform ordinary observations into extraordinary art.
Approach & Equipment
A macro lens is your best friend; it allows for extreme magnification, making small subjects appear life-sized or even larger on your camera's sensor. Patience is key, as these subjects are often skittish. Approach slowly and quietly to avoid startling them.
Stability is paramount. Even tiny movements are magnified in macro shots, so a tripod or monopod is highly recommended. If shooting handheld, use a fast shutter speed to minimize blur.
📷 EquipmentFocus & Composition
Focus critically, ideally on their eyes, as sharp eyes draw the viewer into the image. Experiment with different angles – getting down to the bug's eye level can create a more intimate and engaging perspective, making the insect the dominant feature.
Background matters. A cluttered background can distract from your subject. Use a wide aperture (low f-number) to create a shallow depth of field, blurring the background into a pleasing bokeh.
🎯 CompositionTiming & Technique
Consider shooting in the early morning when insects are less active due to cooler temperatures, making them easier to approach and compose. Dawn or dusk also offers softer ambient light.
Manual focus is often more reliable; you can move the camera slightly to get perfect focus or use focus peaking. Focus stacking — taking multiple images at slightly different focus depths — can increase effective depth of field.
⏰ TimingCreative Composition for Bugs & Blooms (Macro Photography Tips For Beginners)
- Fast shutter speeds (1/200s or faster) or use flash to freeze motion.
- Diffused flash (softbox, mini diffusers) to avoid harsh shadows.
- Manual focus is often more reliable; use focus peaking.
- Focus stacking: combine multiple images for increased depth of field.
- Shoot during dawn or dusk, when insects are less active.
- Use small apertures like f/8–f/16, but balance with diffraction limits.
- Keep a clean, non-distracting background.
- Stabilize your camera: tripod, macro rail, remote release, or beanbag.
- Be patient and cautious — insects move quickly.
A Simple Bug Photography Formula
Patience + precise focus + good light + clean background = stunning macro images.
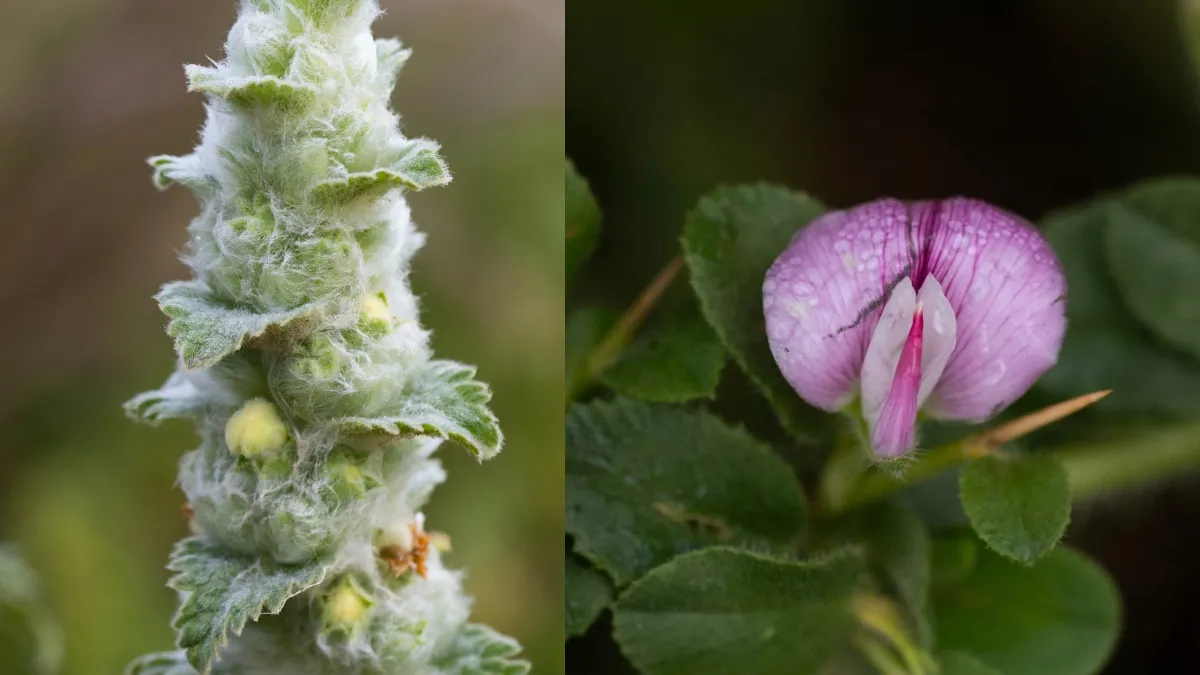
Summary – Macro Photography Tips For Beginners
Mindful Practice
Macro photography isn't just about capturing tiny details—it's a mindful practice that can transform your mental well-being. This guide offers practical macro photography tips for beginners, from choosing the right lens to mastering focus and composition. Understanding macro photography settings like aperture and shutter speed is essential for getting started.
🧘 MindfulnessSharp Photos
Whether you're photographing bugs, blooms, or everyday textures, these macro photography tips for beginners will help you create stunning images while cultivating patience and presence. Learn how to take sharp macro photos by using proper lighting, stabilizing your camera, and approaching skittish subjects with confidence.
📸 SharpnessWonder & Creativity
Read the full guide to discover how macro photography tips for beginners can unlock a world of wonder and creativity—right in your own backyard. With the right macro photography settings and techniques on how to take sharp macro photos, you'll be capturing breathtaking close-ups in no time.
🌿 Wonder📷 Ready to Start Your Macro Journey?
Download our free Macro Photography Quick Start Guide — packed with camera settings, composition tips, and a step-by-step checklist to help you capture stunning close-ups today.
📥 Download the Free Guide No spam. Unsubscribe anytime.

Thanks for sharing your thoughts. I will be waiting for your further post thanks once again.