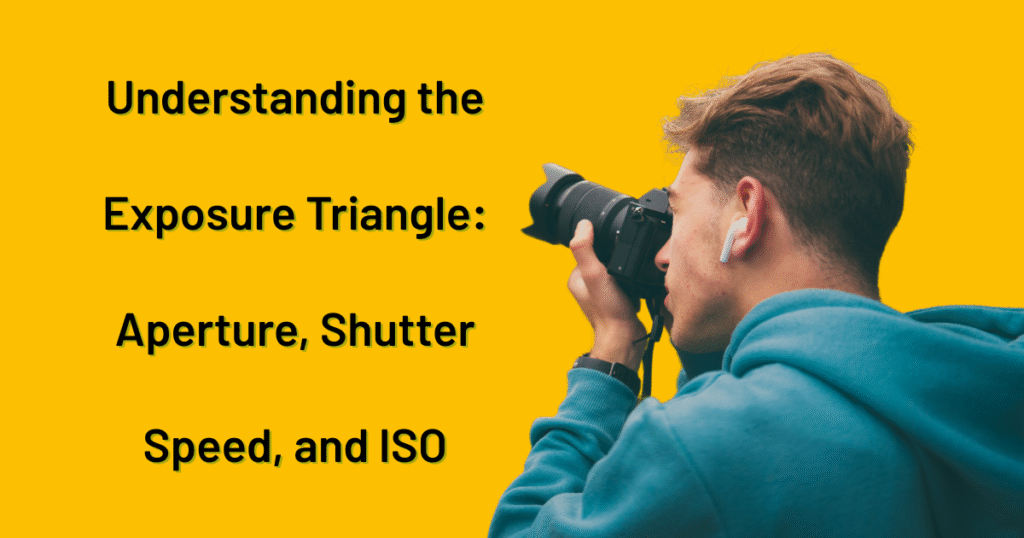
Let’s demystify the fundamental settings for shooting in manual mode. It’s a liberating experience that puts you firmly in the driver’s seat of your camera, allowing for creative control and precise exposure. While it might seem daunting at first, understanding these core elements will unlock a new level of photographic expression.
In manual mode (often denoted as ‘M’ on your camera’s mode dial), you, the photographer, have direct control over the three pillars of exposure: aperture, shutter speed, and ISO. These three work in concert to determine the brightness and overall look of your final image.
Let’s break down each one:
Setting Your Aperture for Stunning Effects – Shooting In Manual Mode
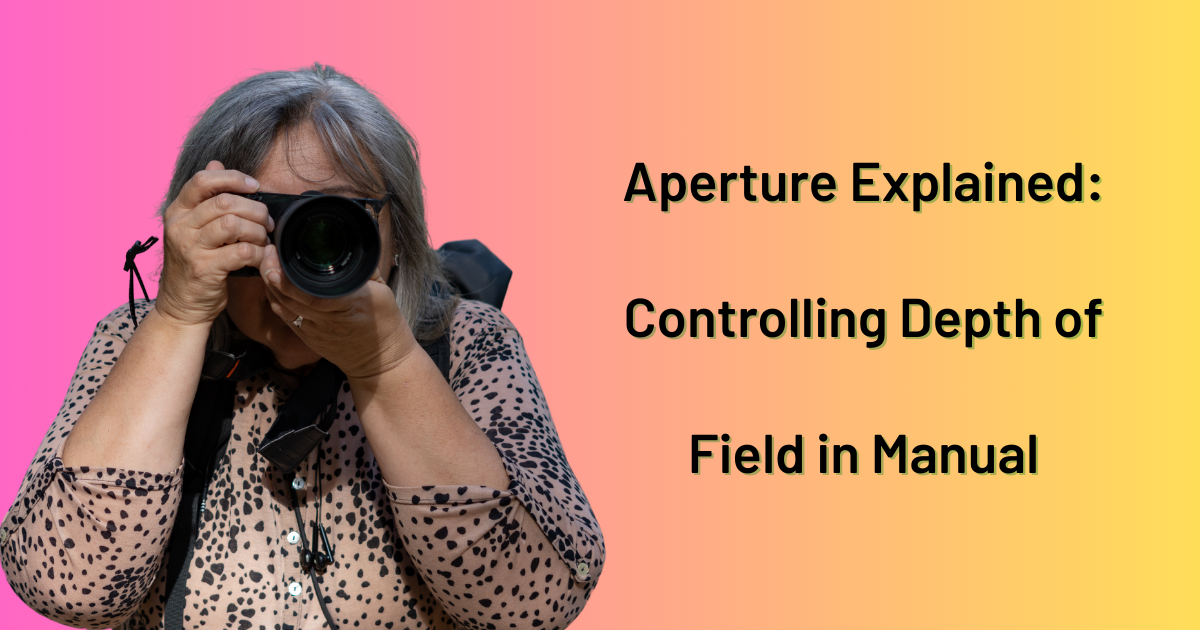
1. Aperture: The Eye of the Lens
Imagine the aperture as the iris of your camera’s lens. It’s a diaphragm inside the lens that opens and closes, controlling the size of the opening through which light passes to the sensor. Aperture is measured in f-stops (e.g., f/1.4, f/2.8, f/5.6, f/8, f/11, f/16, f/22).
Wider Aperture (Smaller f-number): A wider aperture, like f/1.4 or f/2.8, means a larger opening. This allows more light to enter the camera, which is beneficial in low-light situations. Crucially, a wider aperture also creates a shallow depth of field. Depth of field refers to the area in your image that appears sharp. A shallow depth of field means that the subject you’ve focused on will be sharp, while the background and foreground will be blurred. This technique is often employed in portraiture to isolate the subject and create a pleasing bokeh, the aesthetic quality of the blur.
Narrower Aperture (Larger f-number): A narrower aperture, like f/11 or f/16, means a smaller opening. This restricts the amount of light entering the camera, making it suitable for bright conditions. A narrower aperture also results in a greater depth of field, where a larger portion of the image, from the foreground to the background, appears sharp. This is ideal for landscapes where you want everything in focus.
Tips for Aperture:
- Consider your subject and desired effect: For portraits or isolating a single flower, opt for a wider aperture. For landscapes where you want everything in sharp focus, choose a narrower aperture.
- Understand the relationship between aperture and light: In low light, you’ll likely need a wider aperture to achieve a proper exposure. In bright sunlight, a narrower aperture might be necessary to avoid overexposure.
- Experiment with different apertures: Take the same shot at various aperture settings to see how they affect the depth of the field and the overall mood of the image.
- Know your lens’s sweet spot: Most lenses are sharpest at a mid-range aperture, typically around f/5.6 to f/8. While you might use wider or narrower apertures for creative effects, understanding your lens’s optimal performance can improve overall image quality.
- Be mindful of diffraction: Extremely narrow apertures (such as f/22 or smaller on specific lenses) can sometimes result in a slight softening of the image due to a phenomenon known as diffraction.
Using Shutter Speed for Sharpness and Motion Blur – Shooting In Manual Mode
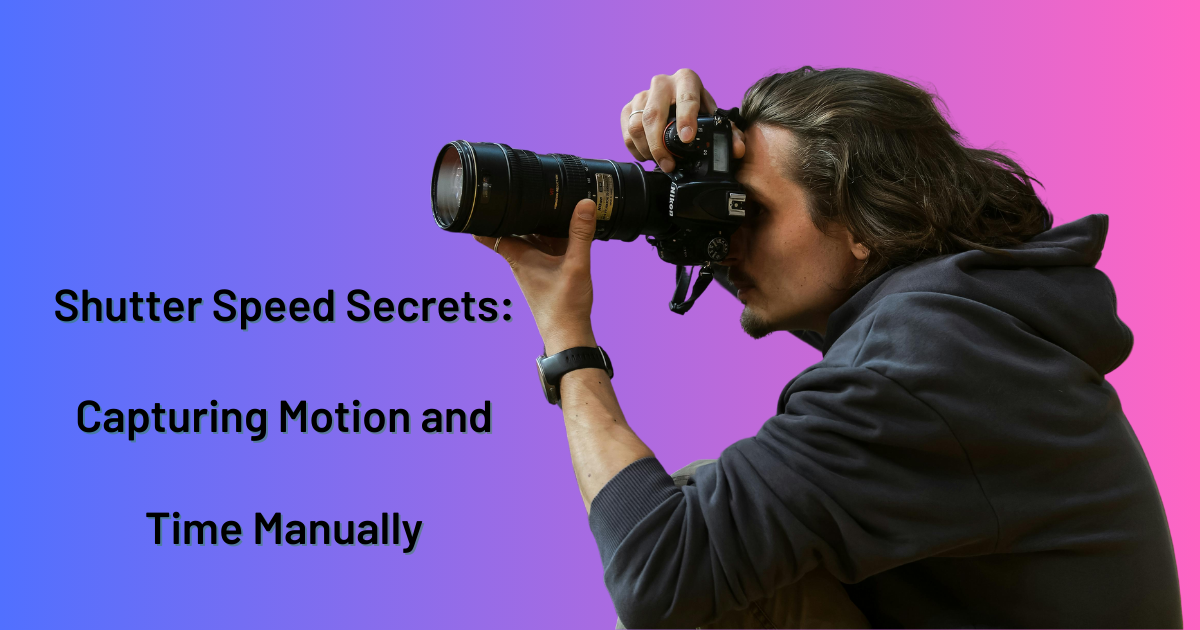
2. Shutter Speed: Capturing Time
Shutter speed refers to the duration during which the camera’s sensor is exposed to light. It is measured in seconds or fractions of a second (e.g., 1/8000s, 1/1000s, 1/60s, 1 s, 10 s).
Fast Shutter Speed (e.g., 1/500s or faster): A fast shutter speed freezes motion, allowing for sharp images. It’s ideal for capturing fast-moving subjects, such as birds in flight, sports action, or water droplets splashing. Because the sensor is exposed for a very short time, less light is recorded; therefore, you typically need a wider aperture or higher ISO to compensate in such situations.
Slow Shutter Speed (e.g., 1/30s or slower): A slow shutter speed allows motion blur. This technique can be used creatively to convey a sense of movement in subjects such as flowing water, car light trails, or even intentionally blurring a moving subject while keeping the background relatively sharp through panning. Because the sensor is exposed for a longer time, more light is recorded; therefore, you may need to use a narrower aperture or lower ISO in bright conditions.
Tips for Shutter Speed:
- Match your shutter speed to your subject’s movement: For stationary subjects, you can use slower shutter speeds. For moving subjects, you’ll need faster speeds to freeze the action.
- Consider camera shake: When shooting handheld, it is generally recommended to use a shutter speed that is at least the reciprocal of your lens’s focal length to minimize camera shake (e.g., with a 50mm lens, aim for 1/50s or faster). Image stabilization in your lens or camera body can help you achieve sharper images at slightly slower shutter speeds.
- Experiment with motion blur: Deliberately use slow shutter speeds to create artistic motion blur effects. A tripod is essential for sharp results with slow shutter speeds.
- Understand the interplay between aperture and ISO: If you want to freeze motion (use a fast shutter speed) in low light, you’ll likely need to compensate with a wider aperture and/or a higher ISO.
- Use a tripod for long exposures: For shutter speeds of a second or longer, a tripod is crucial to ensure a sharp image.
Choosing the Right ISO for Any Lighting Condition
3. ISO: Sensitivity to Light
ISO represents the sensitivity of your camera sensor to light. A lower ISO setting (e.g., ISO 100) means the sensor is less sensitive to light, resulting in a cleaner image with less digital noise (grain). A higher ISO setting (e.g., ISO 1600, 3200, or higher) makes the sensor more sensitive to light, allowing you to shoot in darker conditions with faster shutter speeds or narrower apertures. However, increasing the ISO often introduces more digital noise into the image.
Low ISO (e.g., ISO 100-400): Utilize low ISO settings in bright conditions to capture the cleanest possible images with minimal noise.
High ISO (e.g., ISO 800 and above): Use higher ISO settings in low-light situations when you need to brighten the image or use a faster shutter speed to avoid blur.
Tips for ISO:
- Keep your ISO as low as possible: Aim to use the lowest ISO setting that allows you to achieve a proper exposure with your desired aperture and shutter speed. This will minimize digital noise.
- Increase ISO only when necessary: When you can’t achieve a proper exposure by adjusting aperture or shutter speed alone (due to low light or the need for a specific shutter speed), then increase the ISO.
- Understand your camera’s noise performance: Different cameras handle high ISO noise differently. Experiment with your camera to see at what ISO levels noise becomes unacceptable to you.
- Consider noise reduction: If you have to use a high ISO, you can often reduce noise in post-processing software.
- “Expose to the right”: In digital photography, slightly overexposing (without clipping highlights) can sometimes result in cleaner shadows and less apparent noise when you adjust the exposure in post-processing. This technique is more nuanced and depends on the specific situation and your camera’s sensor.
Putting It All Together: The Exposure Triangle – Shooting In Manual Mode
Aperture, shutter speed, and ISO are interconnected. Changing one setting will affect the amount of light reaching the sensor, and you will likely need to adjust one or both of the other settings to maintain proper exposure. This relationship is often referred to as the exposure triangle.
Imagine a scale where the goal is to achieve a balanced exposure, neither too bright nor too dark. If you widen the aperture (allowing more light), you may need to increase the shutter speed (resulting in less time) or decrease the ISO (reducing sensitivity) to maintain that balance. Conversely, if you use a fast shutter speed (in low light), you may need to widen the aperture or increase the ISO.
Basic Steps for Shooting In Manual Mode:
- Determine your creative vision: What do you want the final image to look like? Do you want a shallow or deep depth of field? Do you want to freeze or blur motion?
- Set your aperture based on your desired depth of field: choose a wider aperture for a shallow depth of field and a narrower aperture for a deep depth of field.
- Set your shutter speed based on your subject’s movement and whether you’re shooting handheld or with a tripod. Use faster speeds for moving subjects and to minimize camera shake when shooting handheld. Use slower speeds for intentional motion blur and when using a tripod.
- Adjust your ISO to achieve proper exposure: Look at your camera’s light meter, which is usually visible in the viewfinder or on the LCD screen. The goal is typically to have the meter reading centered around 0. If the meter is showing underexposure (-), you need to let in more light by widening the aperture, slowing down the shutter speed, or increasing the ISO. If the meter is showing overexposure (+), you need to reduce the amount of light by narrowing the aperture, increasing the shutter speed, or decreasing the ISO.
- Take a test shot and review the histogram: The histogram is a graphical representation of the tonal distribution in your image. It can help you determine if your image is exposed correctly, underexposed, or overexposed. Ideally, the histogram should be spread evenly across the range without significant clipping at either the far left (shadows) or far right (highlights).
- Fine-tune your settings: Based on your test shot and the histogram, make adjustments to your aperture, shutter speed, or ISO as needed to achieve your desired exposure and creative effect.
Long-Term Tips for Becoming a Manual Mode Pro:
- Practice, practice, practice: The more you shoot in manual mode, the more intuitive it will become. Experiment in different lighting conditions and with various subjects.
- Start in familiar situations: Begin practicing in well-lit environments where it’s easier to see the effects of your adjustments.
- Pay attention to the light meter: Your camera’s light meter is a valuable tool, but don’t rely on it blindly. Understand how different lighting situations can influence the meter reading and learn to make adjustments based on your artistic vision.
- Learn to read the histogram: The histogram provides more detailed information about your exposure than the light meter alone.
- Don’t be afraid to make mistakes: Everyone makes mistakes when learning. View them as learning opportunities.
- Understand the limitations of your equipment: Familiarize yourself with the widest aperture and fastest shutter speed of your lens, as well as the noise performance of your camera’s sensor at various ISO levels.
- Consider using spot metering: Instead of evaluative or matrix metering (which averages the light across the entire scene), spot metering allows you to meter the light on a small, specific area of your subject, which can be helpful in tricky lighting situations.
- Think creatively: Manual mode gives you the freedom to underexpose or overexpose for artistic effect intentionally.
- Review your images critically: Analyze your shots and note which settings produced the results you liked and which didn’t.
Shooting in manual mode is a journey of learning and experimentation. It empowers you to make deliberate choices about the look and feel of your photographs, moving beyond the automatic settings and honestly expressing your creative vision. Embrace the process, be patient with yourself, and enjoy the control you gain over your images.