
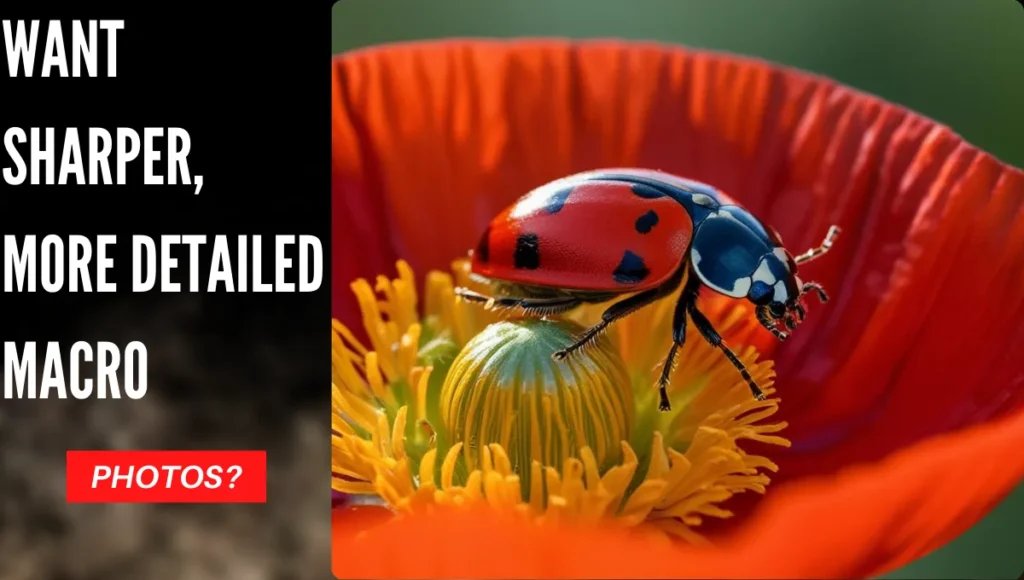
Step into a realm where the minuscule becomes magnificent! If you’ve ever been captivated by the intricate details of a dewdrop on a petal or the vibrant eyes of an insect, then macro photography is your calling. This isn’t just about getting close; it’s about revealing explosive, tiny worlds invisible to the naked eye. In this guide, we’ll dive deep into essential Macro Photography Tips specifically for capturing the stunning beauty of bugs and blooms.
- The wellness benefits of macro photography:a mindful practice.
- 🔍 Macro Photography Basics & Challenges
- Macro Photography Tips: Achieving Sharp Focus: A Step-by-Step Guide
- Creative Composition for Bugs & Blooms
- Macro Photography Tips - Ideal Use Cases & Practical Tips
- Comparing macro lens image stabilization systems
Get ready to transform everyday subjects into extraordinary art. Our Macro Photography Tips will equip you to explore the incredible detail just beneath the surface, making every shot an adventure into the miniature world.
🪸
The wellness benefits of macro photography:
a mindful practice.
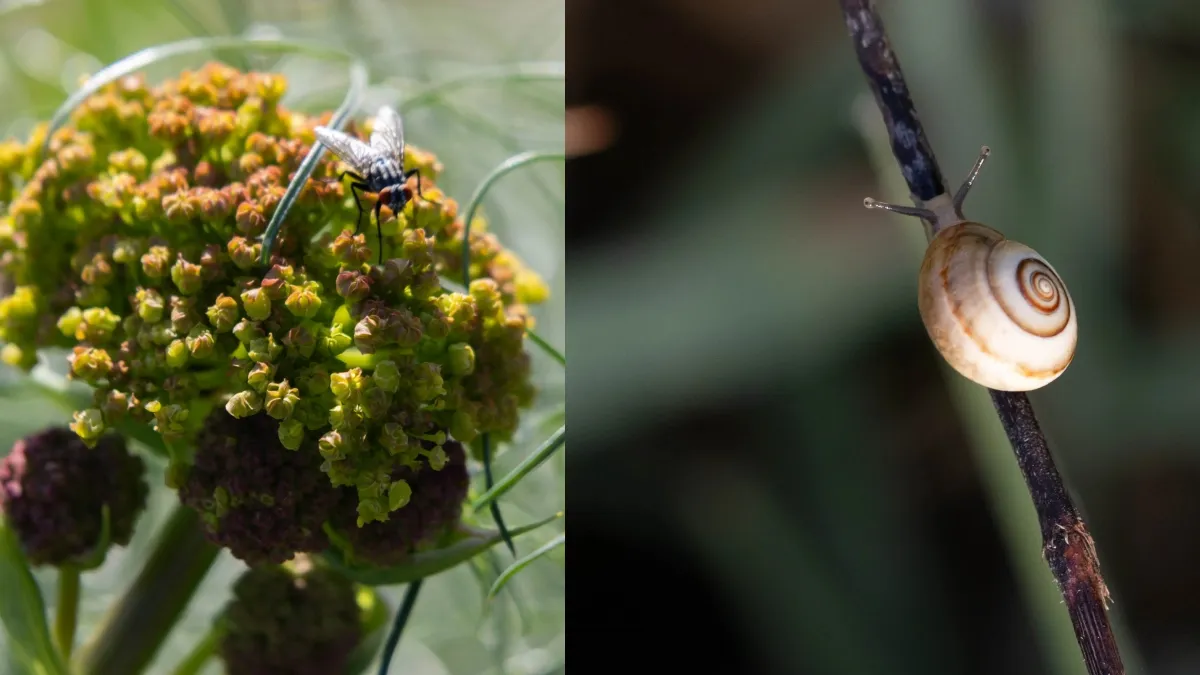
In search of tiny details
When you’re hunting for the delicate veins on a petal or the compound eyes of a damselfly, your brain shifts from doing mode to being mode. The chatter fades; only the dewdrop, the antenna, the minuscule world exists. This single-pointed attention is a form of active meditation — it anchors you in the present, washing away mental clutter.
✔️ Studies show that focusing on small, intricate patterns lowers cortisol. Macro doesn't just magnify life — it magnifies calm.
Reconnection & wonder
Seeing the iridescent scales on a moth or the tiny hairs on a stem rewires your relationship with the outdoors. You stop treating nature as a backdrop and start relating to it as a living tapestry. Each session becomes a quiet conversation with the more‑than‑human world — fostering awe, gratitude, and a sense of belonging.
✔️ This deep attention triggers the parasympathetic nervous system, the same rest‑and‑digest state achieved in yoga nidra.
“ There is no room for anxiety when you are completely absorbed in the geometry of a spider’s silk. Macro photography is a gateway to effortless mindfulness — your breath slows, your shoulders drop, and the world shrinks to the size of a flower. ”
🧘 Patience as self‑care
Waiting for an ant to walk into the perfect sliver of focus, or for the breeze to pause so a flower stands still — this isn’t a frustrating delay. It’s a **benevolent slowdown**, a permission slip to unhook from the rush of notifications and endless scrolling. In a world built for speed, macro gives you a guilt‑free excuse to be unhurried. Each moment of stillness is a small act of kindness toward your nervous system. You're not just making an image; you're making space to breathe.
✨ frame it as a gentle reset, not a technical hurdle
Therapeutic layer: every time you chase the perfect bloom or beetle, you are also chasing stillness — and that’s the healthiest capture of all.